You probably already know the benefits of a website and you are convinced that you do need a website but you might not be sure where to begin, and It could be overwhelming.
Well, you can relax – you have come to the right place.
In this guide, we will show you how to make a brochure website (one that showcases what you offer – no ecommerce) in less than an hour using HostFiti Website Builder. The website will consist of two pages: homepage and contact page.
To help you with your journey of creating a website, we will cover the following steps:
So, let’s get started…
STEP 1: Register an Account
The first step in your journey to creating a website is to create an account with us and configuring a domain name.
If you have already done this – feel free to skip to STEP 2: Configure Your Website
If not, follow along as we will answer some commonly asked questions when setting up an account and choosing a domain name.
To create a account, go to our home page or click on the “Get My Website” button in the menu and perform a domain search.
Anyone who ever used the internet knows you need to insert a website address to get to any website. A domain name is the address of your website.
While it is very common for businesses to have domain names that are the same as their business names (such as walmart.com), you can pick a domain name to include any text phrase you want as long as it is not already taken.
For example, the domain name for our website is www.hostfiti.com. For businesses it’s important to think about how your domain will be relevant to what you do. It’s the first contact a lot of people will have with your site, so make it count.
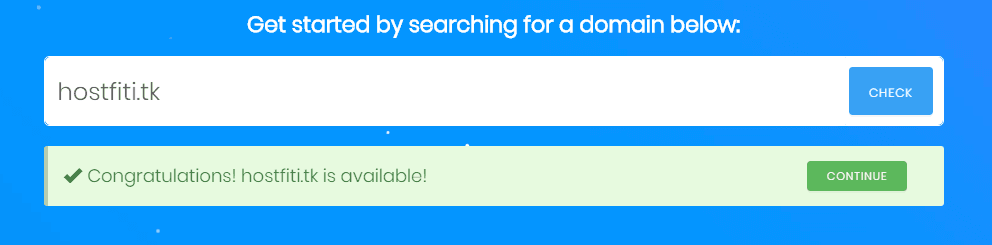
If your domain is available, click on continue to proceed.
In the next step choose a template for your website. This is where you choose a template that has a layout and feel similar to how you want your website to have.
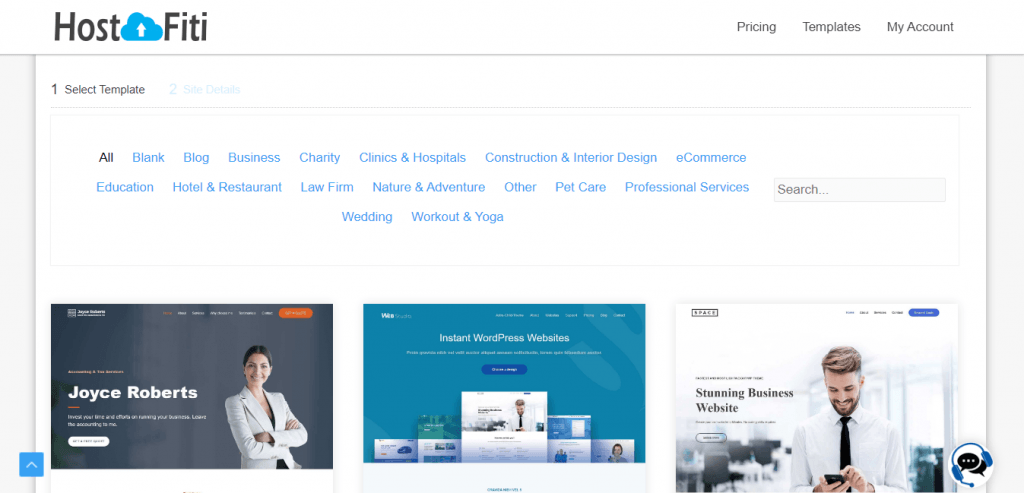
For the case of this tutorial, we will choose the blank template, since we are building a website from scratch. Remember?
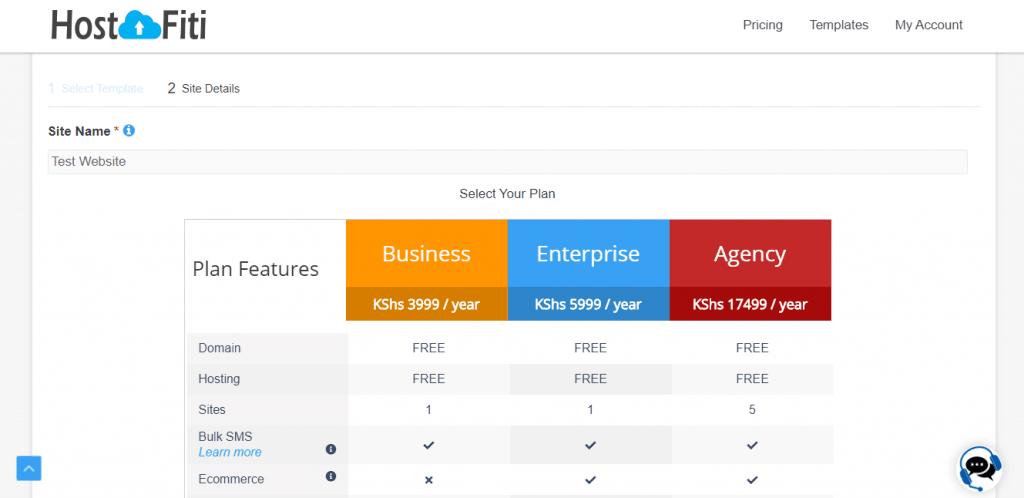
Then enter your your site’s name and choose your site’s plan.
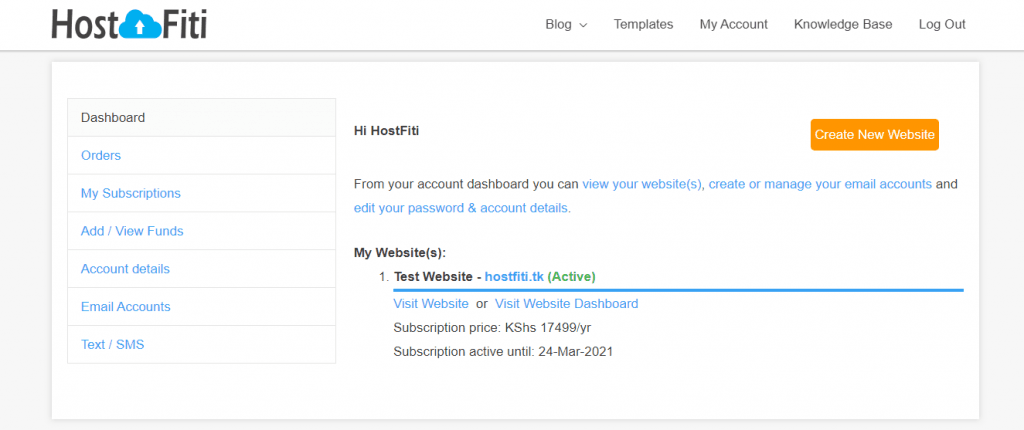
After completing the above steps and paying for your subscription, you will be redirected to your account’s page, where you will view your website(s).
STEP 2: Configure Your Website
On the my account page, click on the view website link which will redirect you to your website’s frontend or the dashboard link which redirects you to your website’s dashboard (or backend).
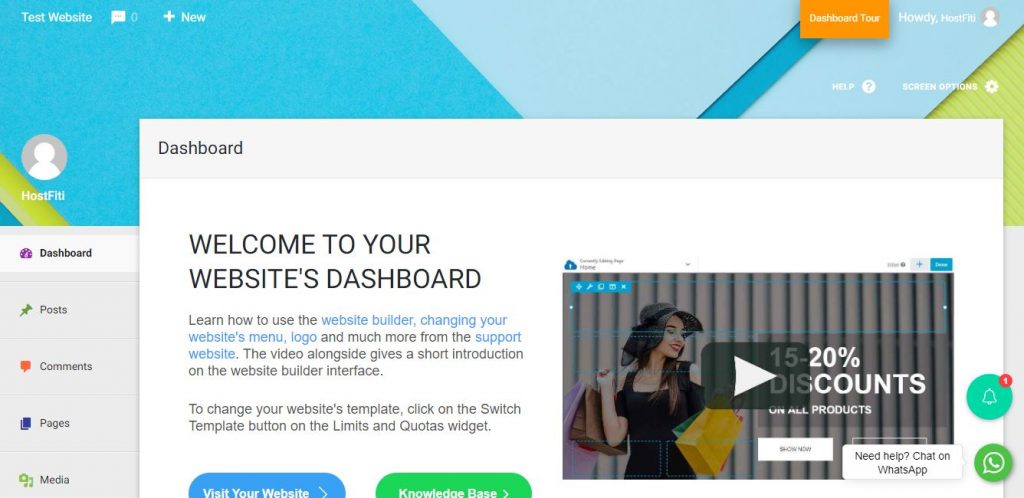
Your website’s dashboard is where you control every aspect of your website. This includes logos, your website’s title, creating new pages and much more.
Learn more about the dashboard.
2.1 Add a Logo, Change Typography and Colours
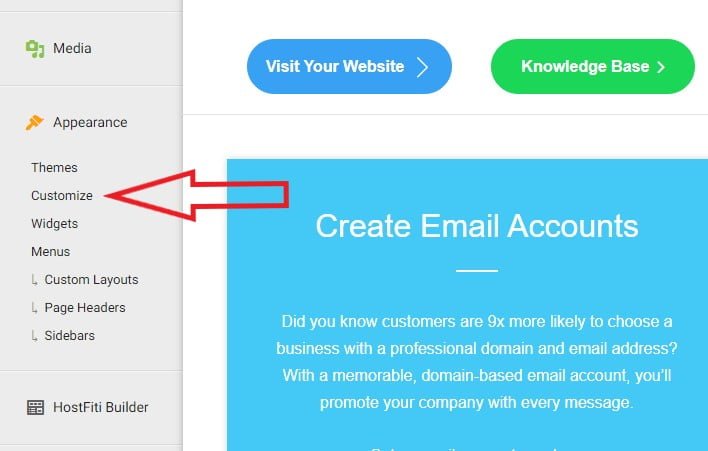
Before we add any pages and posts to our blank website, we will first customize the static elements of our site i.e. those that are pretty constant and don’t change frequently such as the logo, typography and colours. To do so, from your website’s dashboard, go to Appearance >> Customize.
On doing so, you will be taken to the customizer page, similar to one below.
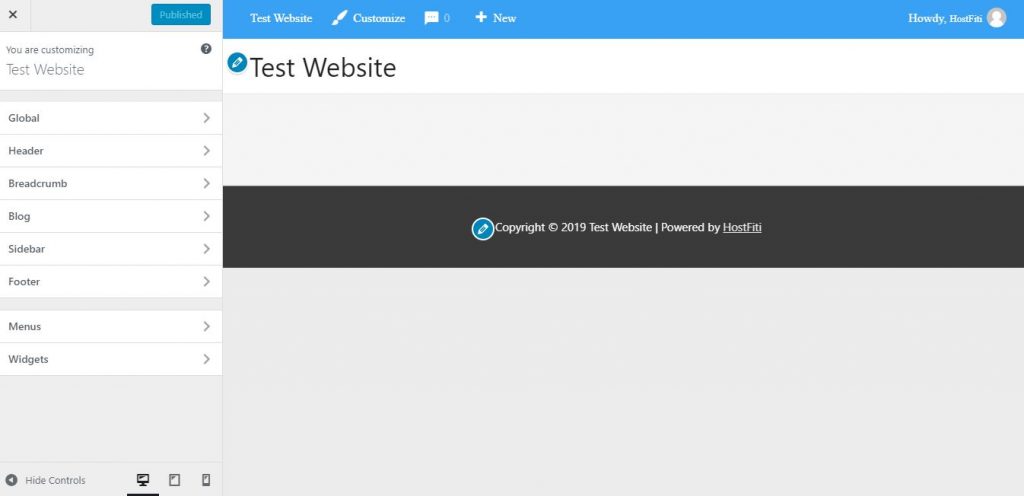
Before we proceed, we have to differentiate between various terminologies in a website’s layout.
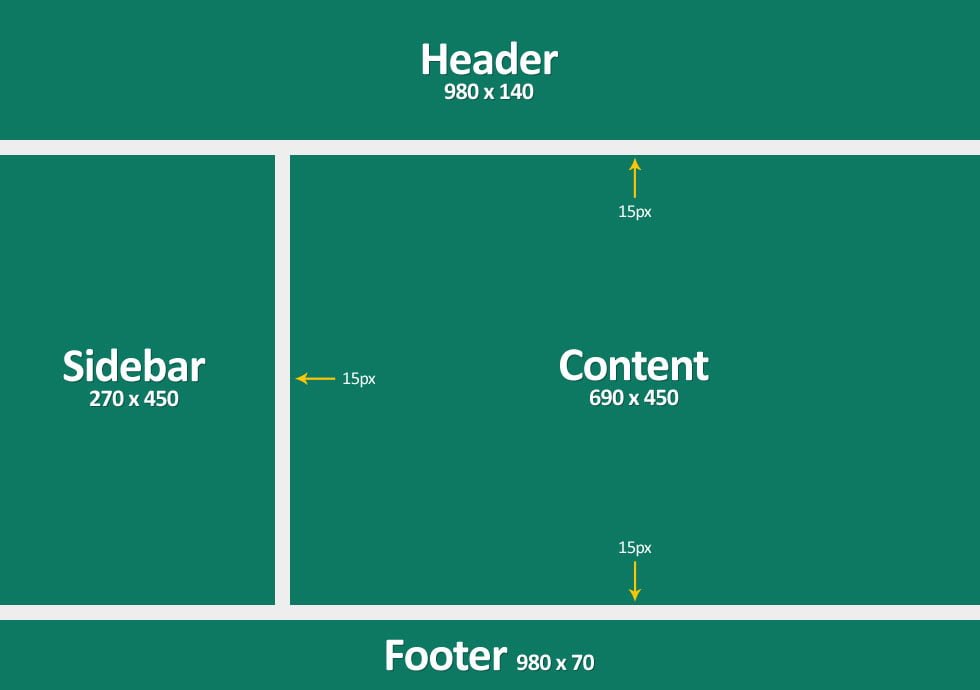
- Header – It runs across the top of the page and appears on every page of your website. It contains links to the most important sections of a website. For a business website or blog, it will contain links to the pricing page, contact page, call to action e.t.c
- Main Content – This section contains the actual pages or posts.
- Sidebar – it is a column that appears either to the left or the right of the main content, which can also be completely disabled.
- Footer – it typically contains the name of the company or organization that publishes the website or blog, along with relevant copyright information.
To add a logo, go to Header > Site Identity. In this area, you can also change your site’s favicon. Our website won’t have a sidebar, so we disable it from the Sidebar settings.
Learn more about various sections of the customizer
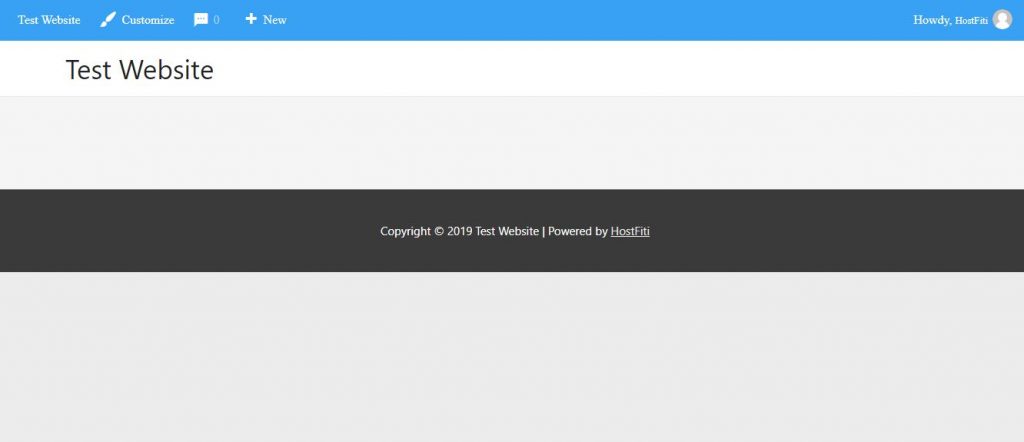
Here’s how our website looks so far.
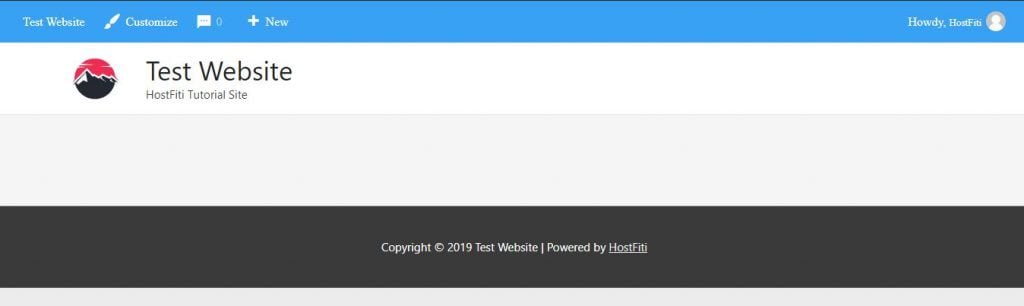
Pretty empty, right? Now exit the customizer page by clicking on the X icon on your top left and go to the Add New page from your website’s dashboard.
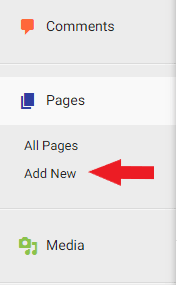
2.2 Adding New Pages
A website is made up of pages such as Homepage, Contact us, about us and much more. Upon going to the Add New Page section, you will find a page similar to one below.
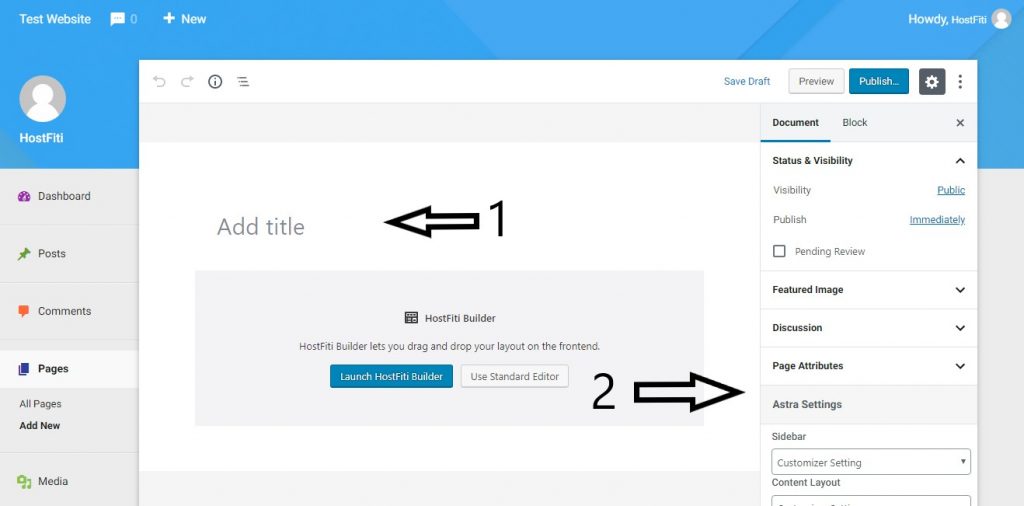
2.2.1 Homepage
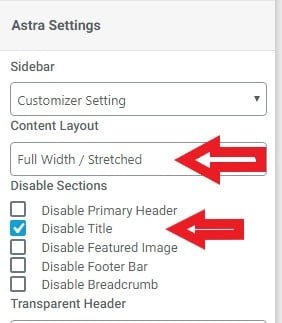
Add the page’s title at the Add Title field (labelled 1). In our case it will be Homepage. Then in the Astra Settings section (labelled 2), select disable page title and select Full Width/Stretched under the content layout dropdown, then click on Launch Hostfiti Builder. On doing so, you will be redirected to the website builder’s interface which is as shown below.
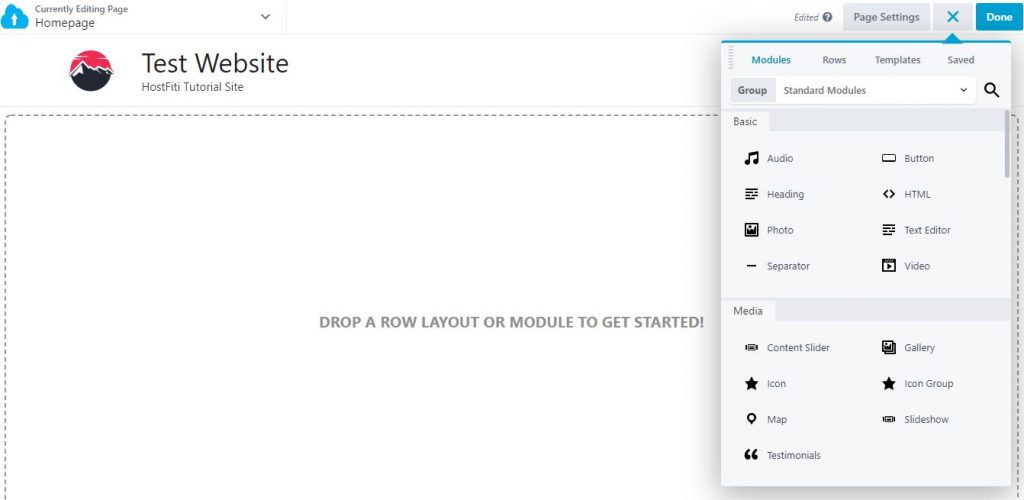
Learn about various parts of the page builder.
The video below gives a short introduction on the website builder interface.
To save on time, we will choose an already pre-designed page template. Afterall, we want to create the website under one hour.
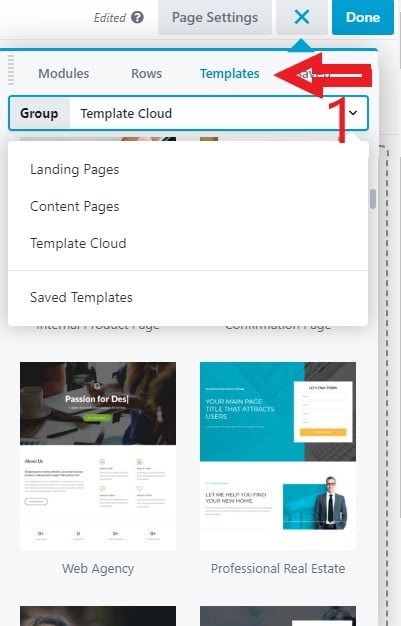
To choose a page template, click on templates (labelled 1 ) and from the drop down select the landing pages, content pages or template cloud and the page templates will load beneath that section. Click any desired template and click on append or replace existing page layout. Once the page template has been added to your page, you may make any required changes. We will click on “Template Cloud’ for the sake of this tutorial and choose the “Mobile Application” template.
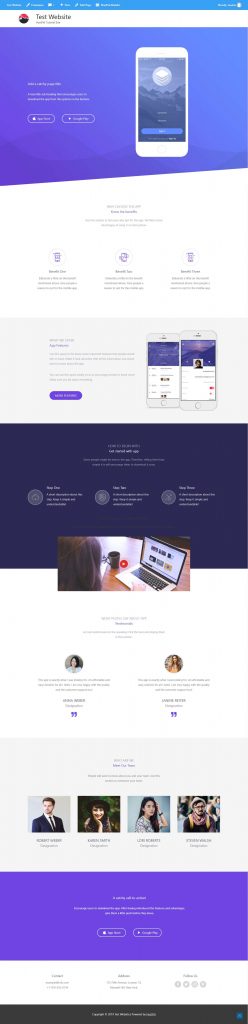
Once your template is applied on your page, make any relevant changes and click on publish. Here’s how our final homepage looks like.
2.2.2 Contact Page
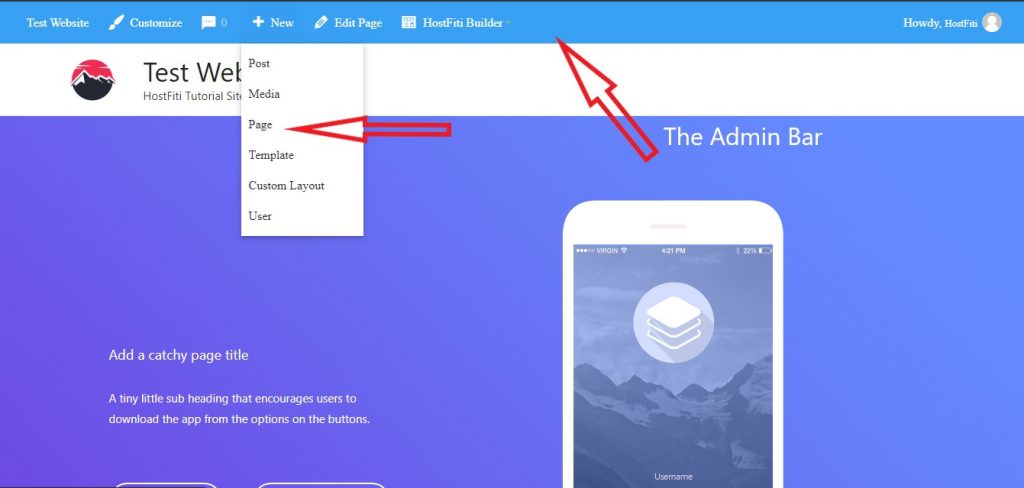
The next step is to create our contact page. Follow the steps as before to create a new page (you can also quickly get to the Add New Page section by clicking New > Page from the admin bar).
In our case, we chose the “Contact 05” template under the “Template Cloud” section. Here’s how our contact page looks like:
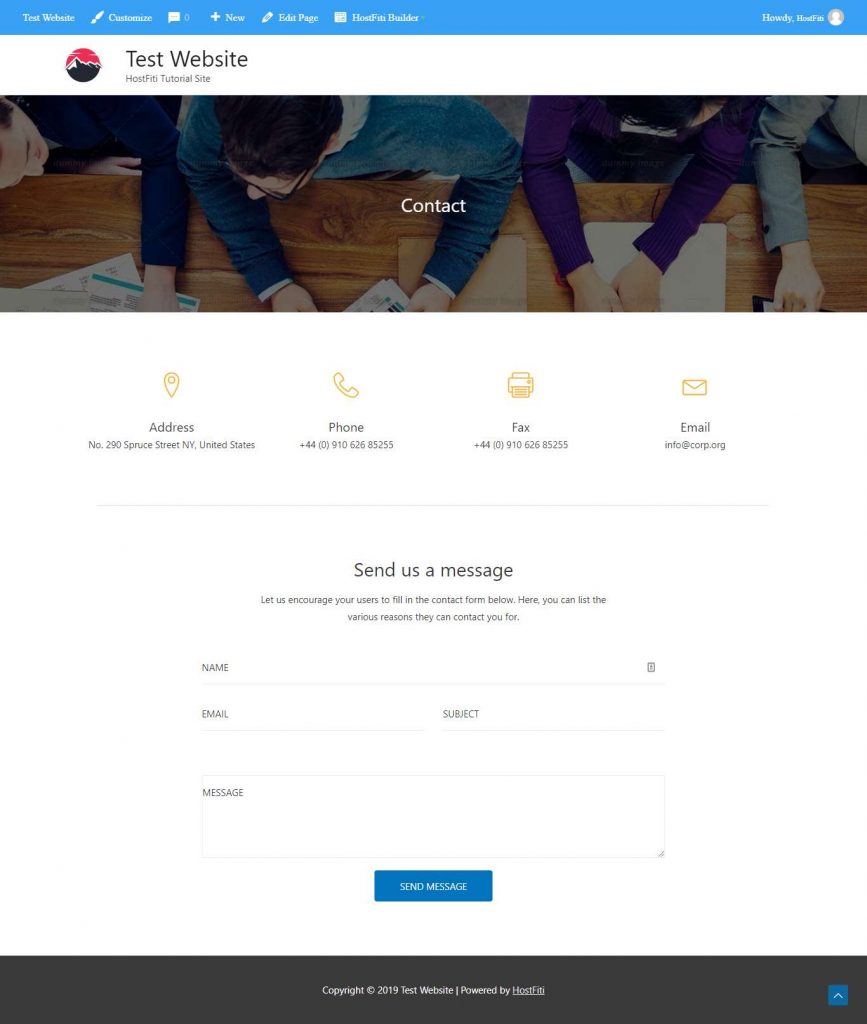
Note: By default all contact form submissions will be delivered to the email you used while signing up for an account in step one.
2.3 Set Website’s Frontpage
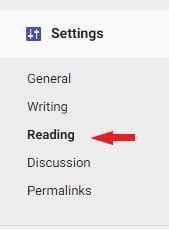
Now that we have setup the two pages, we have to tell the website which page to load whenever a web visitor visits your website. To do so,in your website’s dashboard, go to Settings > Reading Settings.
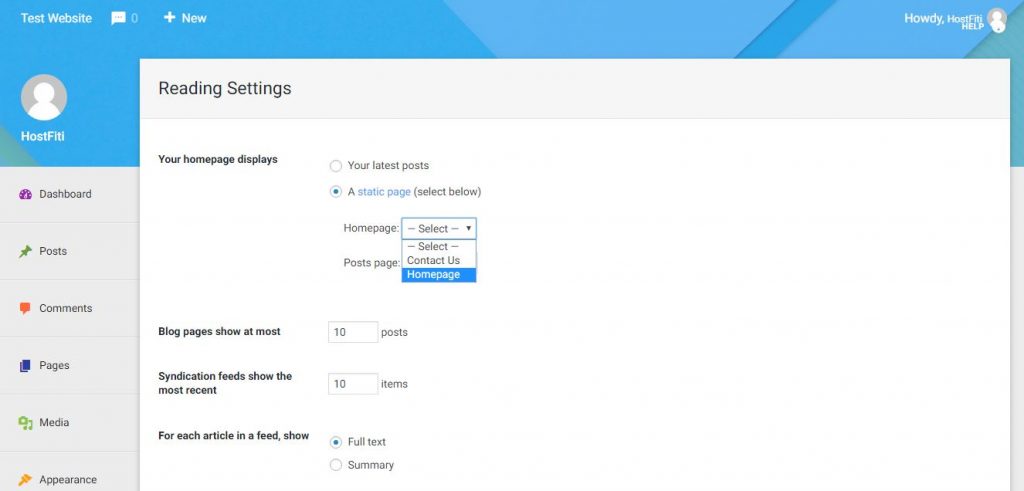
In the “Your homepage displays” section, select “A static Page”.For the homepage, select the previously created homepage. You can leave the blog page as it is. Then click on save.
2.4 Creating Navigation Menus

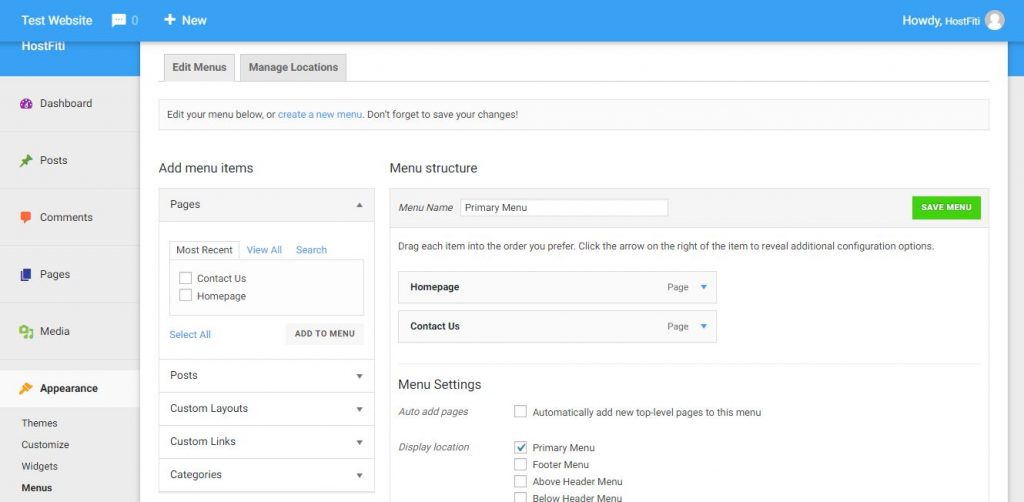
Once you have created all the website pages that you require, go to Appearance > Menus from your website’s dashboard. This is where we will create a navigation menu that will be displayed in your website’s header. Click ‘create a new menu’, give it a name and click ‘click menu’. Once you create your menu, add pages to the menu (which in our case will be homepage and contact page). Reorder the pages in the order you want them to appear in the navigation bar.
Then set the menu as the primary menu in the display location settings and click on save menu.
Now go to your website’s frontend (you can do this by clicking on your website’s name in the admin bar and click visit site) and you should see your navigation menu.
Here how our complete site looks like:
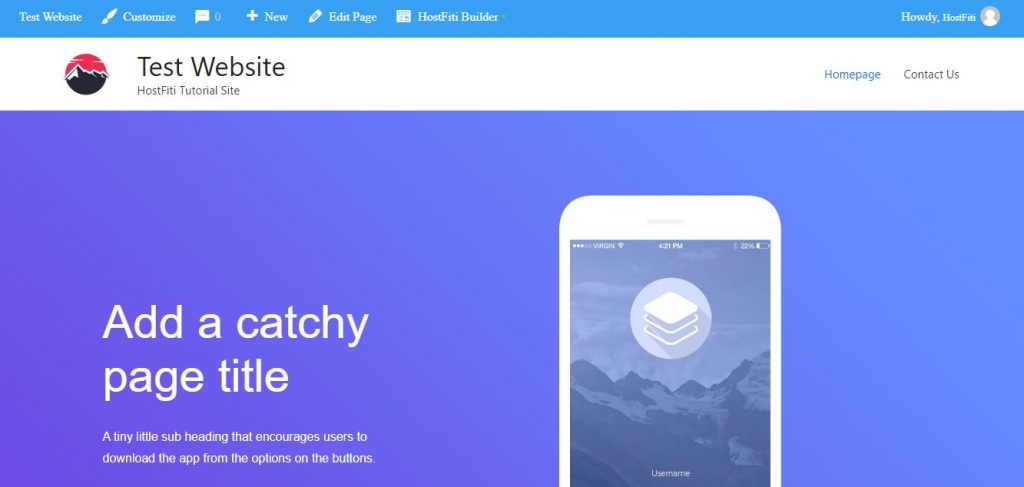
You can view this website at: https://tutorials.hostfiti.com/
STEP 3: Celebrate the Launch of your new Website
There you go – as promised we have shown you how to create your own website.
Congratulations you have just learnt how to make a website (and you can do all this is less than an hour).

If at any time during your setup you need guidance, you can refer back to this guide for any help.
We also have additional information in our knowledge base to help you with any questions on the details discussed in this guide.
Do you think this article will help someone? Don’t forget to share.
Subscribe to be notified about new marketing, entrepreneurship & web development posts.
Make a Professional Website using HostFiti Website Builder
Having a professional business website helps you establish credibility as a business. Make your professional website using our drag and drop website builder in minutes and make it convenient for your customers to contact you.
Starting from